航芯ACM32G103开发板 1.28圆形屏幕 LVGL移植
06-航芯ACM32G103开发板评测 1.28圆形屏幕 LVGL移植
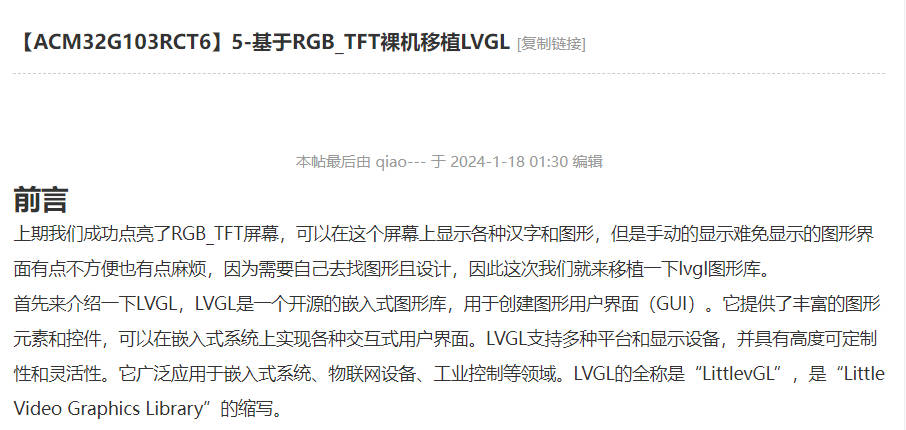
参考移植教程
http://bbs.eeworld.com.cn/thread-1270136-1-1.html
软硬件平台
- 航芯ACM32G103开发板
- 1.28寸圆形彩色TFT显示屏高清IPS 模块240X240 SPI接口 GC9A01驱动芯片
- LVGL V8.3.1源码
LVGL
LVGL(Light and Versatile Graphics Library)是一个免费的开源图形库,提供创建具有易 于使用的图形元素、漂亮的视觉效果和低内存占用的嵌入式 GUI。
LVGL 是一款具有丰富的部件,具备高级图形特性,支持多种输入设备, 多国语言和独立于硬件之外等免费的开源图形库。接下来我们来看一下 LVGL 图形用户库的主要特点:
强大的构建块:按钮、图表、列表、滑块、图像等部件。 具有高级图形属性:具有动画、抗锯齿、不透明度、平滑滚动的高级图形。 支持各种输入设备:如触摸、鼠标、键盘、编码器。 支持多语言:UTF-8 编码。 支持多显示器:它可以同时使用多个 TFT 或者单色显示器。 支持多种样式属性:它具有类 CSS 样式的完全可定制的图形元素。 独立于硬件之外:它与任何微控制器或显示器一起使用。 可扩展性:它能够以小内存运行(最低 64 kB 闪存,16 kB RAM 的 MCU)。 支持操作系统、外部存储器和 GPU(不是必需的)。 具有高级图形效果:可进行单帧缓冲区操作。 纯 C 编写: C 语言编写以获得最大的兼容性。
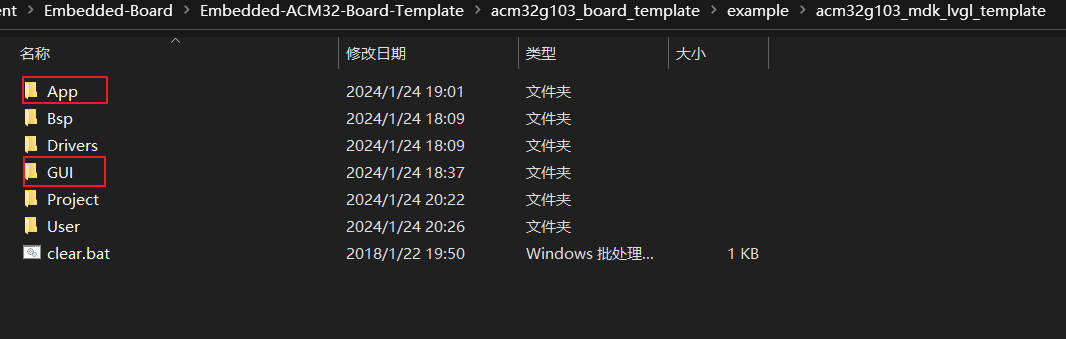
快速移植过程
- 在已有的ACM32G103RCT6 TFT 裸机移植LVGL的工程模板上进行修改 添加LVGL源代码文件
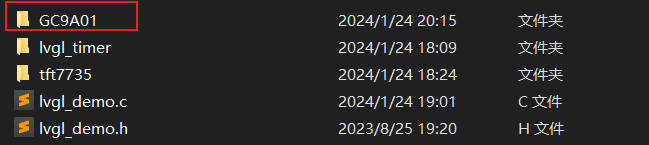
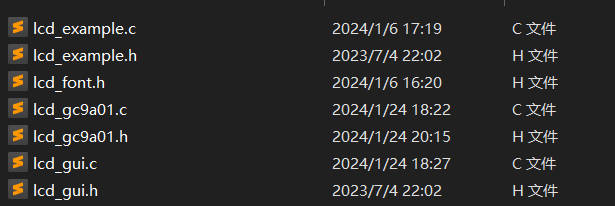
2.在已有的工程模板上,添加GC9A01驱动屏幕代码

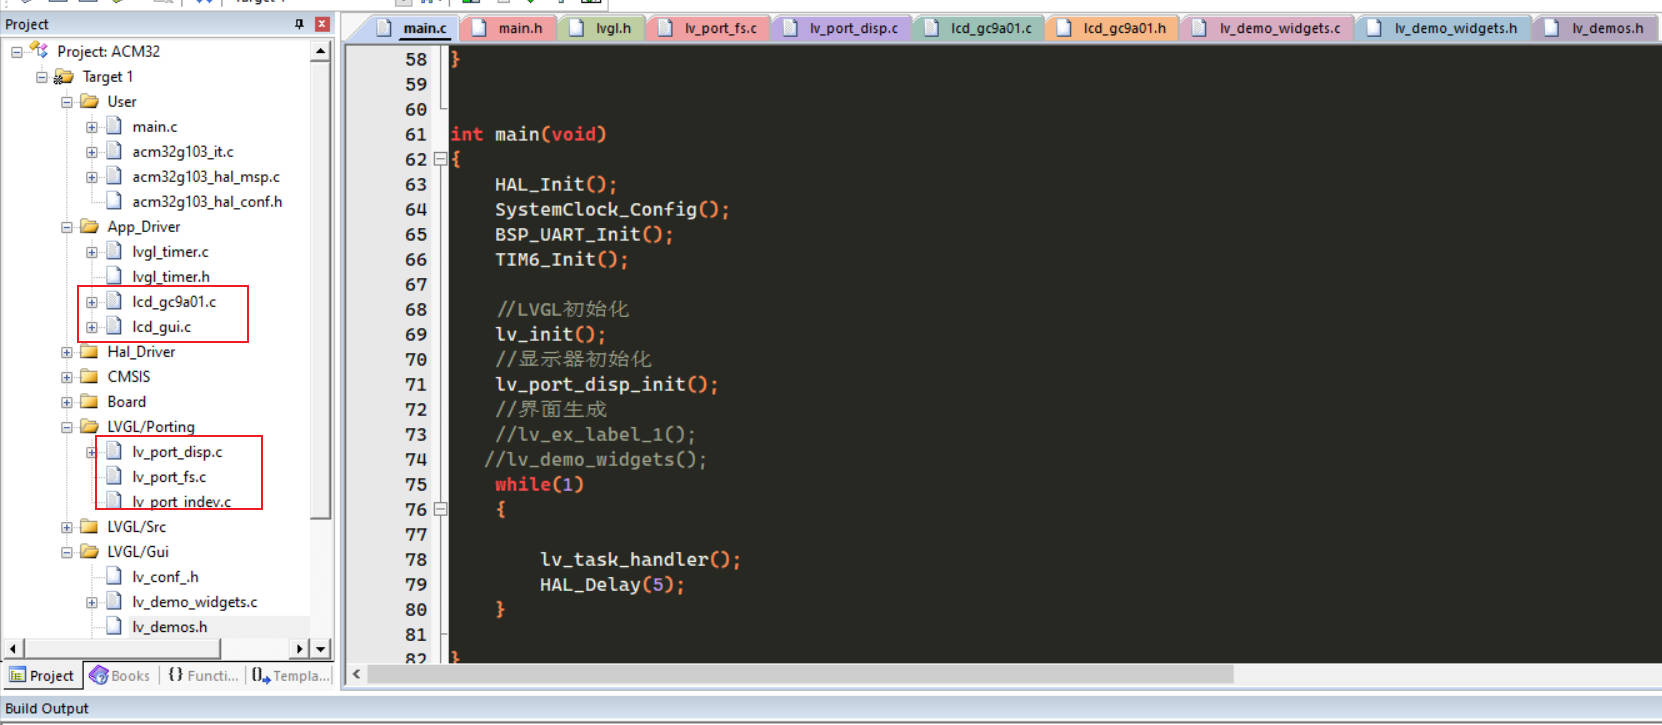
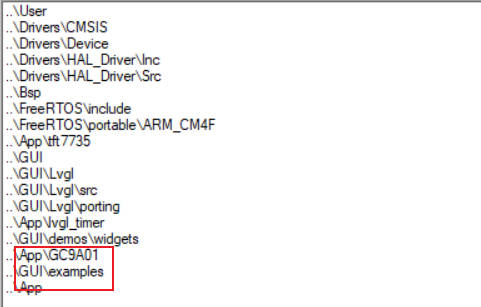
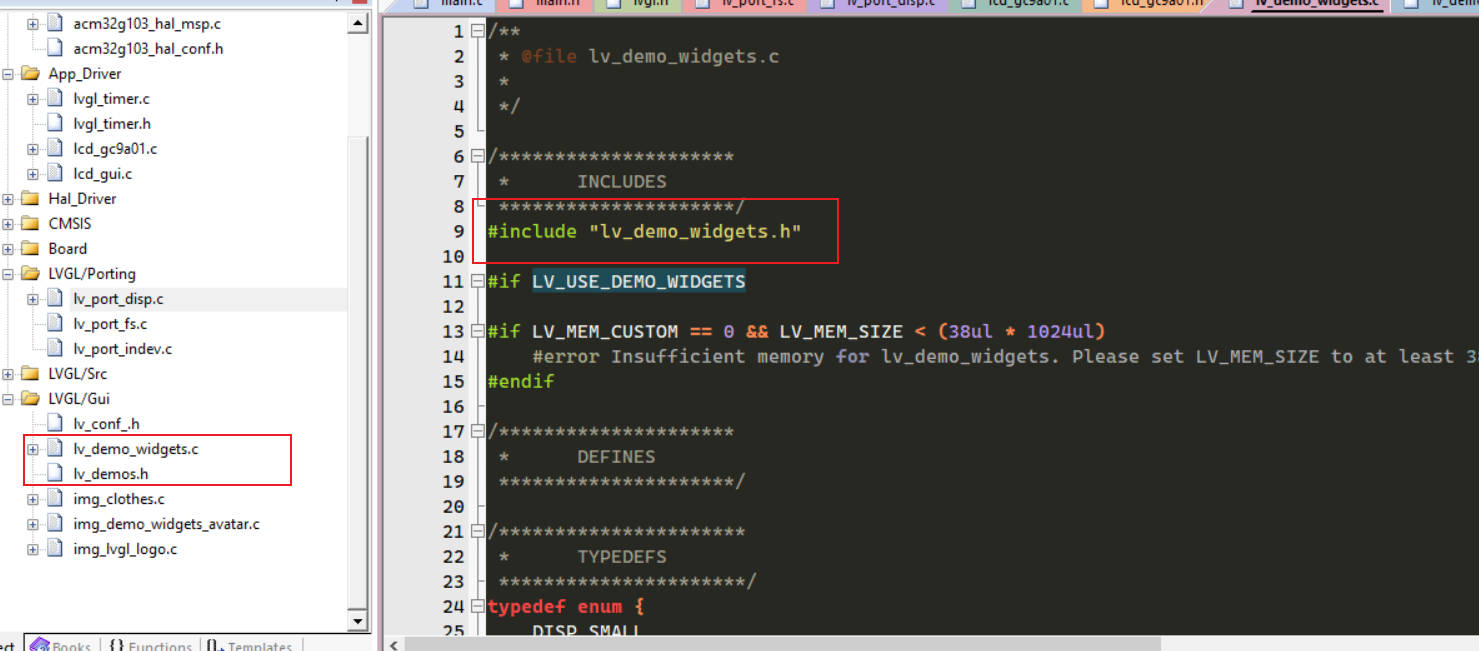
3.在KEIL添加相关源文件,添加相关路径,删除之前的屏幕驱动文件
4.修改lv_port_disp屏幕显示接口文件
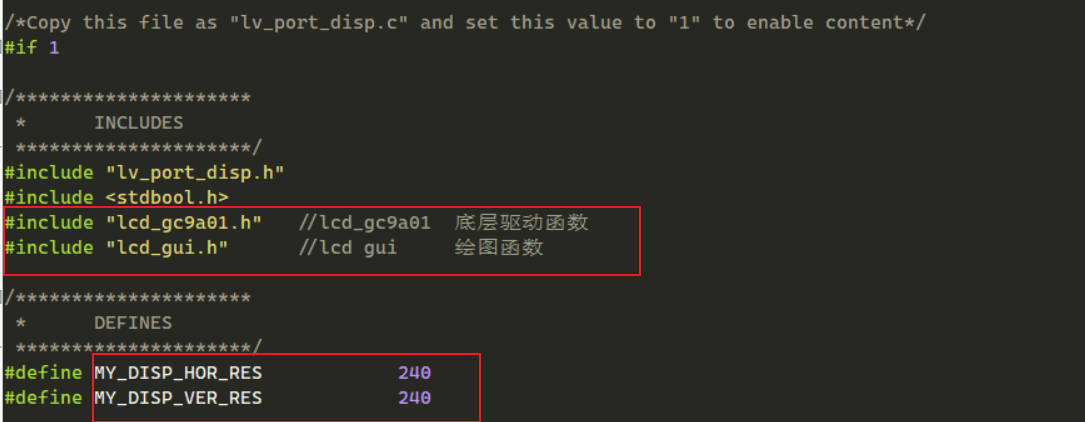
5.添加LCD屏幕初始化函数,绘图绘点函数
复制
/**********************
 * STATIC FUNCTIONS
 **********************/

/*Initialize your display and the required peripherals.*/
static void disp_init(void)
{
  /*You code here*/
        LCD_Init();
        LCD_BLK_SET;//通过IO控制背光亮
}

volatile bool disp_flush_enabled = true;

/* Enable updating the screen (the flushing process) when disp_flush() is called by LVGL
 */
void disp_enable_update(void)
{
  disp_flush_enabled = true;
}

/* Disable updating the screen (the flushing process) when disp_flush() is called by LVGL
 */
void disp_disable_update(void)
{
  disp_flush_enabled = false;
}

/*Flush the content of the internal buffer the specific area on the display
 *You can use DMA or any hardware acceleration to do this operation in the background but
 *'lv_disp_flush_ready()' has to be called when finished.*/
static void disp_flush(lv_disp_drv_t * disp_drv, const lv_area_t * area, lv_color_t * color_p)
{
  if(disp_flush_enabled) {
  /*The most simple case (but also the slowest) to put all pixels to the screen one-by-one*/
                uint16_t x,y;
  for(y = area->y1; y <= area->y2; y++) {
    for(x = area->x1; x <= area->x2; x++) {
      /*Put a pixel to the display. For example:*/
      /*put_px(x, y, *color_p)*/
                                GUI_DrawPoint(x,y,lv_color_to16(*color_p));
      color_p++;
    }
  }
  }
  /*IMPORTANT!!!
 *Inform the graphics library that you are ready with the flushing*/
  lv_disp_flush_ready(disp_drv);
}
基本上就完成了一个屏幕与LVGL的对接,当你换其他的屏幕是基本上也是这样子的操作,前提是屏幕驱动文件一定要适配成功。
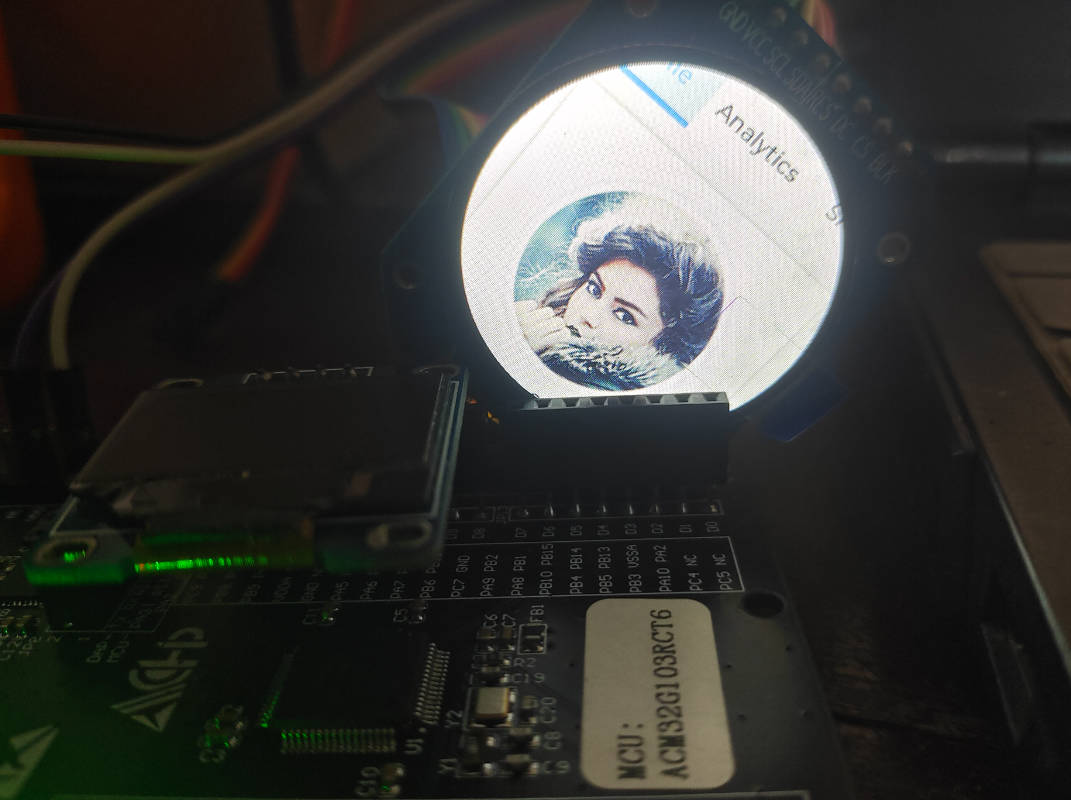
案例测试
官方案例demo函数 添加官方demo代码,打开LV_USE_DEMO_WIDGETS宏定义

#include "main.h"

#include "lvgl_timer.h"
LoopFunction loopFunction[MAX_INIT_FUNCTIONS];
int loopFunctionCount = 0;

void callInitFunctions(void){
    uint8_t i ;
    for(i = 0 ; i<loopFunctionCount;i++){
        loopFunction<i>();
    }
}

/******************************************************************************
*@brief : main program
*@param : none
*@return: none
******************************************************************************/

#include "lvgl.h"
#include "lv_port_disp.h"
#include "lv_port_indev.h"
#include "lv_demo_widgets.h"
#include "lv_examples.h"


int main(void)
{
  HAL_Init();
  SystemClock_Config();
  BSP_UART_Init();
    TIM6_Init();

  //LVGL初始化
  lv_init();
  //显示器初始化
  lv_port_disp_init();
  //界面生成
 lv_demo_widgets();
  while(1)
  {

  lv_task_handler();
        HAL_Delay(5);
  }

}
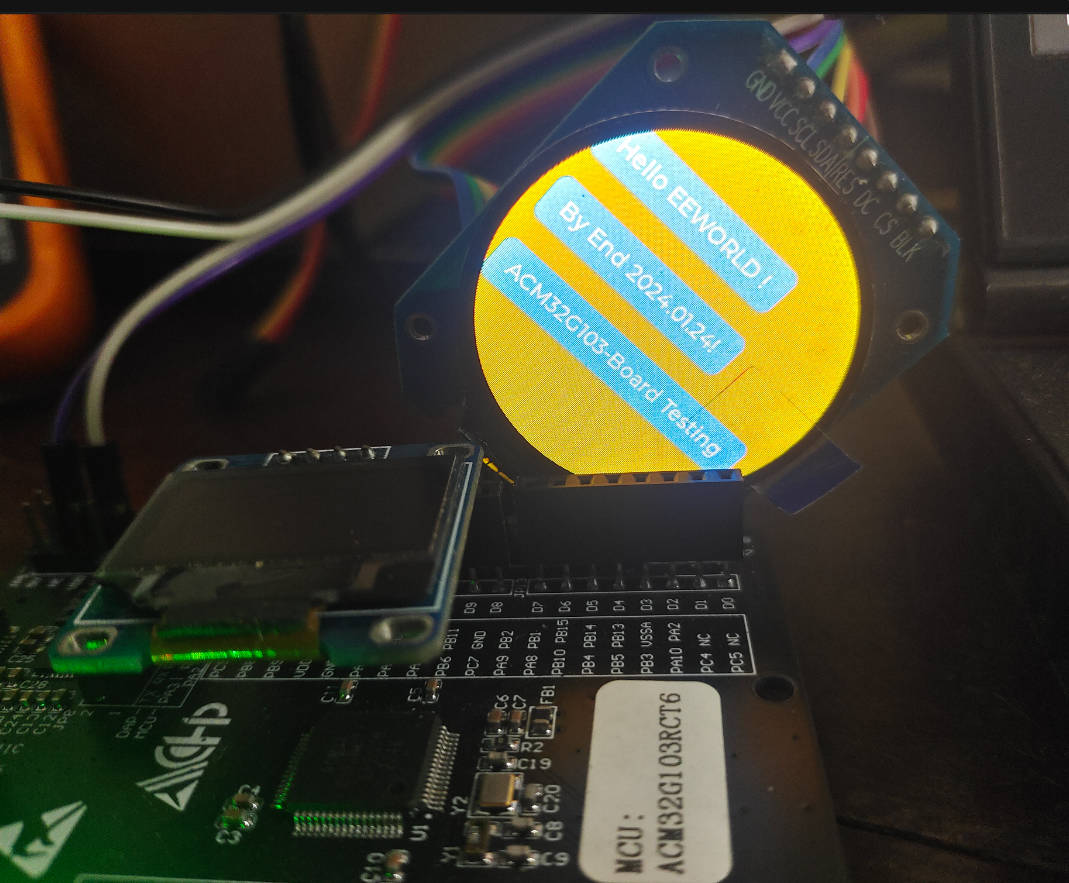
编写自定义LVGL显示代码
/******************************************************************************
*@file: main.c
*@brief : main program
******************************************************************************/
#include "main.h"

#include "lvgl_timer.h"
LoopFunction loopFunction[MAX_INIT_FUNCTIONS];
int loopFunctionCount = 0;

void callInitFunctions(void){
    uint8_t i ;
    for(i = 0 ; i<loopFunctionCount;i++){
        loopFunction<i>();
    }
}

/******************************************************************************
*@brief : main program
*@param : none
*@return: none
******************************************************************************/

#include "lvgl.h"
#include "lv_port_disp.h"
#include "lv_port_indev.h"
#include "lv_demo_widgets.h"
#include "lv_examples.h"
static void lv_ex_label_1(void)
{
    /* Create a screen */
  lv_obj_t * scr = lv_obj_create(NULL);
  lv_scr_load(scr);
  lv_obj_set_style_bg_color(scr,lv_palette_main(LV_PALETTE_ORANGE),0);
  lv_obj_align(scr,LV_ALIGN_CENTER,0,0);

  /* Create a button */
  lv_obj_t * btn = lv_btn_create(scr);
  lv_obj_align(btn, NULL, LV_ALIGN_CENTER, 40);
  /* Create a label for the button */
  lv_obj_t * label = lv_label_create(btn);
  lv_label_set_text(label, "Hello EEWORLD !");

        /* Create a button */
  lv_obj_t * btn1 = lv_btn_create(scr);
  lv_obj_align(btn1, NULL, LV_ALIGN_CENTER, 90);
  /* Create a label for the button */
  lv_obj_t * label1 = lv_label_create(btn1);
  lv_label_set_text(label1, "By End 2024.01.24!");

        /* Create a button */
  lv_obj_t * btn2 = lv_btn_create(scr);
  lv_obj_align(btn2, NULL, LV_ALIGN_CENTER, 140);
  /* Create a label for the button */
  lv_obj_t * label2 = lv_label_create(btn2);
  lv_label_set_text(label2, "ACM32G103-Board Testing");
}


int main(void)
{
  HAL_Init();
  SystemClock_Config();
  BSP_UART_Init();
    TIM6_Init();

  //LVGL初始化
  lv_init();
  //显示器初始化
  lv_port_disp_init();
  //界面生成
 lv_ex_label_1();

  while(1)
  {

  lv_task_handler();
        HAL_Delay(5);
  }

}
测试效果